Contents
The board:
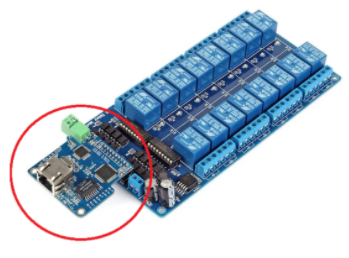
The board I worked with is a 16 channel relay board: https://www.sainsmart.com/products/imatic-rj45-ethernet-wi-fi-control-board-with-integrated-16-ch-dc-12v-relay
I believe this process should also work with the 8 channel relay board: https://www.sainsmart.com/products/imatic-rj45-tcp-ip-remote-control-board-with-8-ch-relay
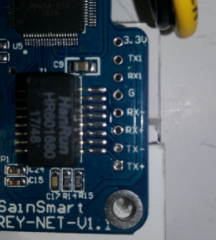
The relay board has this ethernet card:
The problem:
The problem is that the board comes pre-programmed with the IP 192.168.1.4.
The solution:
The following steps show you how to change the IP using a Windows PC.
The Hardware
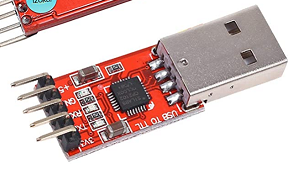
To change the IP, you’ll need pretty much any TTL serial adapter that works on your PC.
A TTL Serial Adapter that works in Windows
Example: https://www.amazon.com/IZOKEE-CP2102-Converter-Adapter-Downloader/dp/B07D6LLX19/ref=sr_1_16
Some wires
You need to use some wires to connect the TTL serial adapter to the Ethernet card. You can use 4 of these male to female wires:
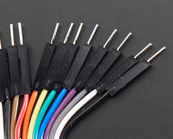
https://www.adafruit.com/product/824
Connect 4 wires to the TTL adapter, you can ignore the 5V connection:
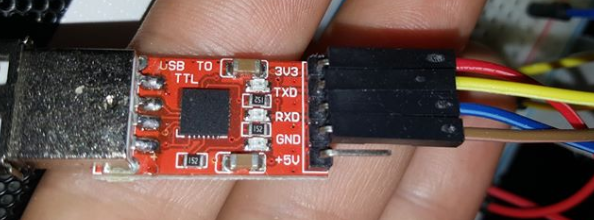
Transmit
Receive
Ground
Connect the wires from the USB ttl device to the Ethernet board
Find the 4 matching holes on the Ethernet board:
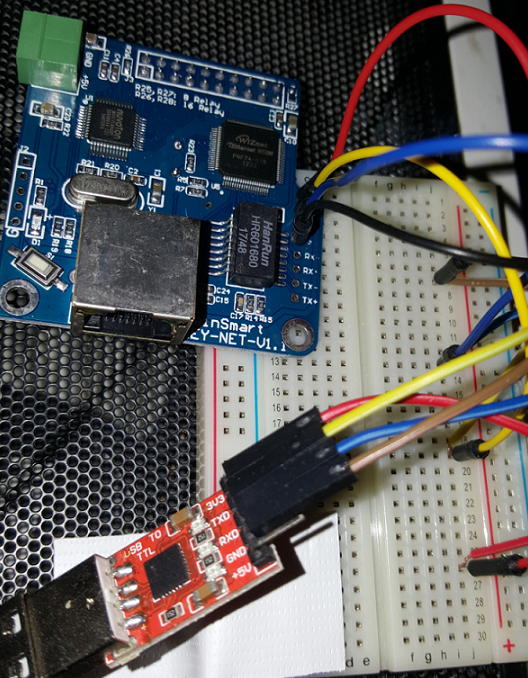
Make sure the wires touch the board snug and aren’t wiggling loose. You can use a cobbler breakout board like this:
If you’re just hacking this in a rush, use something solid that doesn’t produce static to zap your board, and that’s pretty solid in texture.
Example using a breakout board. It’s 1 to 1, no need to cross transmit to receive or anything. Just match all 4 wires:
Download the serial program
Get RealTerm and install it: https://sourceforge.net/projects/realterm/

Start it up.
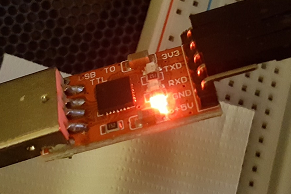
If it connects OK, then you should see this LED turn ON:
Pick the IP for your Ethernet board, and a port number
You need to figure out the byte string to send from Real Term, via the USB device, to your Ethernet board.
The format they use is:
Format: FB 21 55 18 data length IP Port
Let’s pick an IP, for example: 192.168.1.100
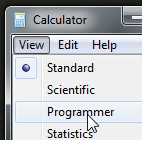
Use Calculator
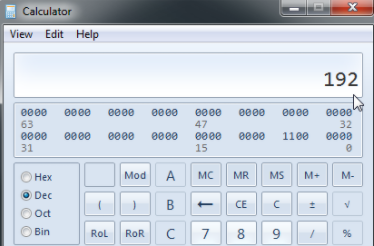
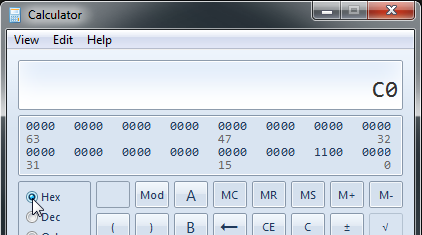
So, “192” is “C0” in hex.
Do this for the entire IP.
192 → C0
168 → A8
1 → 01
100 → 64
Also pick a port, up to 65535. Let’s pick port 30000, which is what they often use with this board:
30000 → 7530
Now that we have the IP, the port, and the syntax, let’s plug it in:
Format:		FB 21 55 18			data length		IP				Port

Our string: FB 21 55 18         06              C0 A8 01 64     75 30
Thus, our string that we have to send is:
FB 21 55 18 06 C0 A8 01 64 75 30
To use this program, add zero x in front of each number, like this:
0xFB 0x21 0x55 0x18 0x06 0xC0 0xA8 0x01 0x64 0x75 0x30
Copy the string.
Start RealTerm if it’s not started.
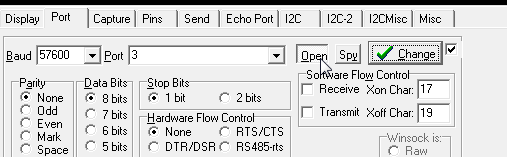
Go to the Port tab and click Open to connect. If it’s already connected, you can ignore this step.
Next, go to the Send tab.
Paste the string.
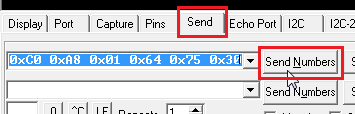
Click Send Numbers
Example of using 10.1.10.19 port 30000:
Format:		FB 21 55 18			data length		IP				Port
IP:												10	1	10	19	30000
Send: 		FB 21 55 18 		06 				0A  01  0A  13  75 30

Send string:
0xFB 0x21 0x55 0x18 0x06 0x0A 0x01 0x0A 0x13 0x75 0x30
Example of using 10.1.10.20 port 40000:
Format:		FB 21 55 18			data length		IP				Port
IP:												10	1	10	20	40000
Send: 		FB 21 55 18 		06 				0A  01  0A  14  9C 40

Send string:
0xFB 0x21 0x55 0x18 0x06 0x0A 0x01 0x0A 0x14 0x9C 0x40
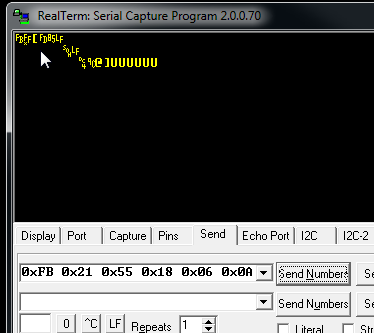
Get your “send string” ready.
Click Send Numbers.
Wait 20 seconds.
The Ethernet board’s blue light should change from flashing every second to flashing very fast, for about 10 second.
If successful, after about 10 seconds, it will go back to flashing more slowly.
The terminal program output will look like:
If you don’t get any reply back from the Ethernet board, and if the board isn’t flashing fast for a while during programming, then it didn’t work. (in that case, unplug the USB to TTL adapter, close the terminal program, and start over).
Once the board is re-programmed with the new IP and port, you can connect to it.
Good luck!