This was painful to figure out.
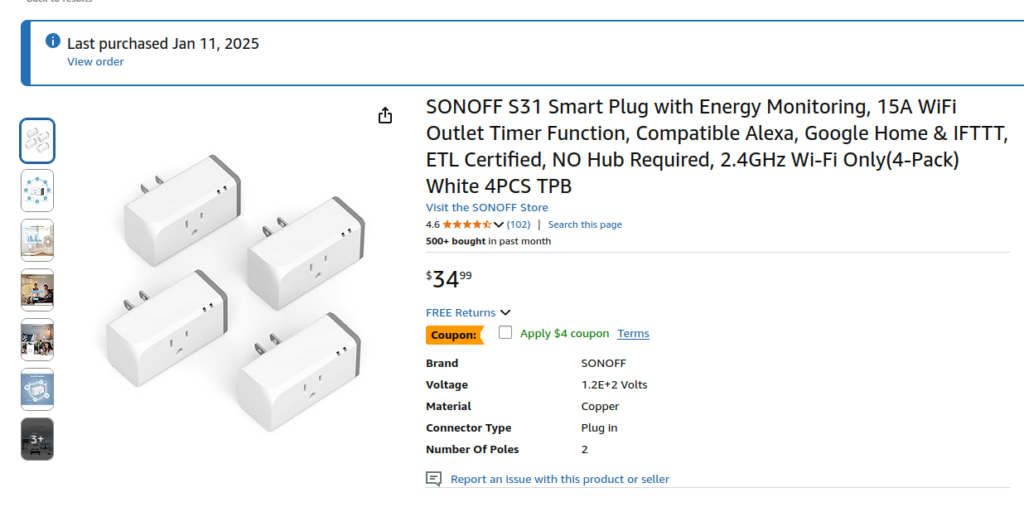
The device is a Sonoff S31 smart outlet:

Useful tools to get this done:
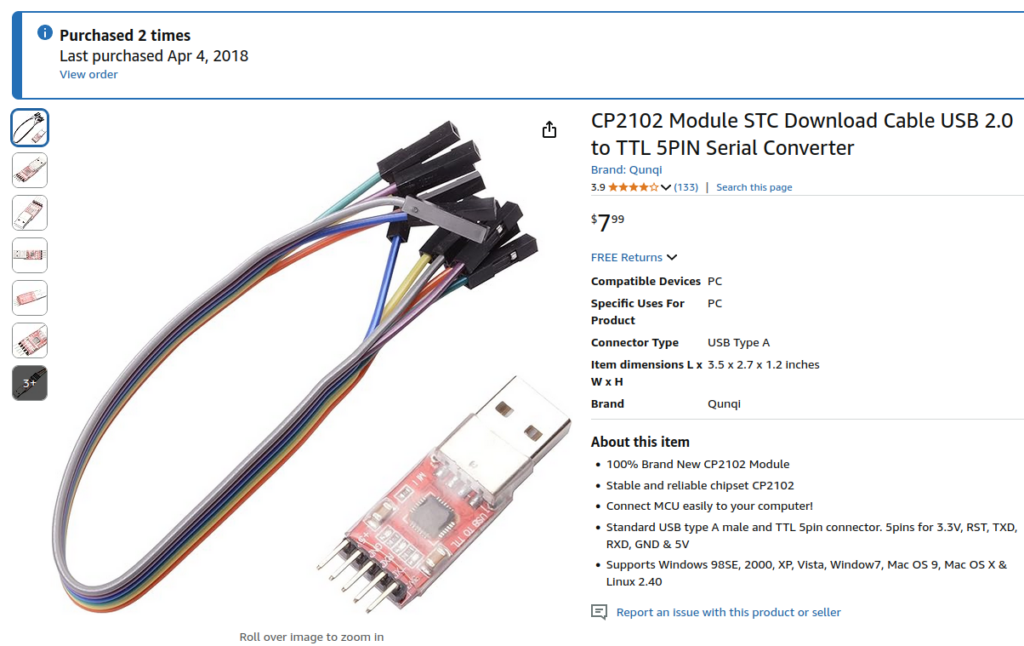
To program the Sonoff S31 (which actually uses a ESP8266EX chip)

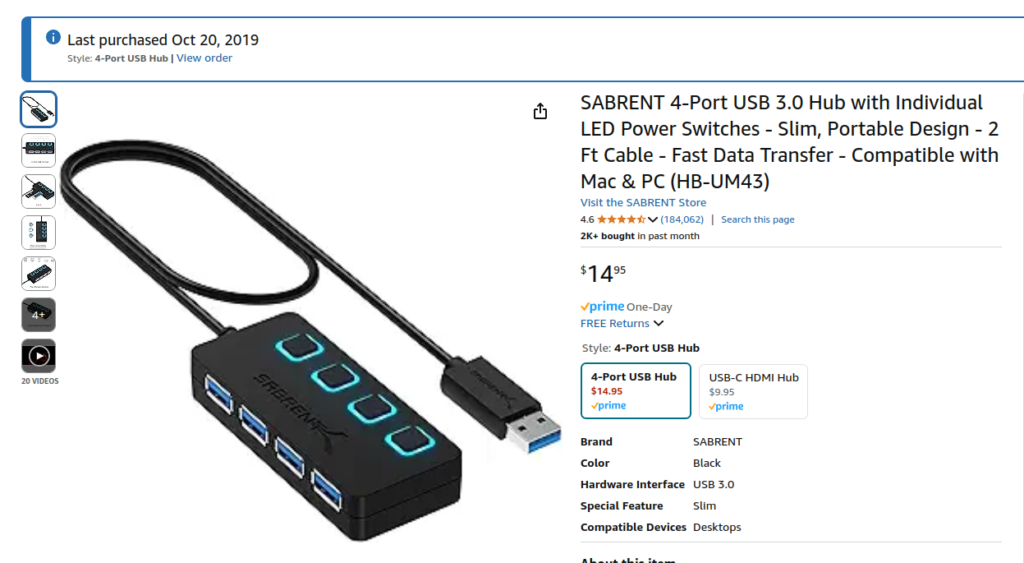
To turn the USB serial converter ON and OFF, use a small USB hub:

To hold the assembly together:

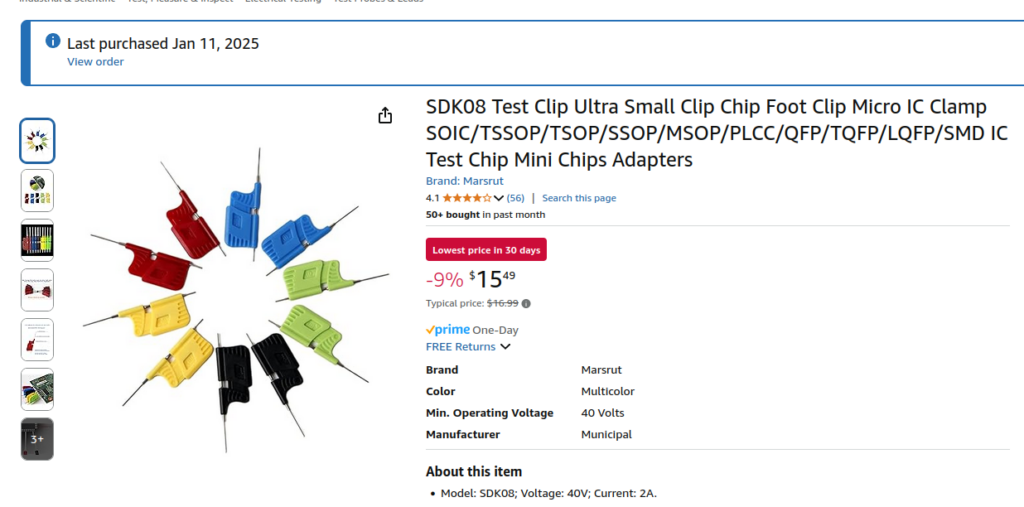
To connect to the tiny pins on the ESP8266EX:

Open up the Sonoff S31 device by first popping off the gray button cap, sliding off the 2 plastic rails, and unscrewing the 3 screws. They are bad screws so you have to press very hard, or you’ll strip them.
Also watch this video if you need help: https://www.youtube.com/watch?v=GBuzTue8q5Y&t=302s
The setup on the Serial converter:
Use a USB hub to turn ON/OFF the Serial Converter:


I stuck with Yellow to be Transmit, so that I could hook up Yellow into the Receive on the board later on.
# wire up the Sonoff S31 smart plug device.

# disassemble it, and use a USB to Serial device, attach probes to the Sonoff S31 plug.

# Do not attach the red/VCC/power pin or it'll turn ON. Use a USB hub to turn the device ON and OFF

# USB Ground -> Sonoff Ground
# USB Transmit -> Sonoff Receive
# USB Receive - > Sonoff Transmit


On the board, it’s VCC (3.3V), Receive (you hook up the USBSerial’s Trasmit to this), Transmit (you hook up the USBSerial’s Receive to this), and Ground.
If you use the clamp, it can look like this:


# How to flash the Sonoff S31 smart plug with Tasmota firmware from https://tasmota.github.io/

# Make a directory ~/Downlaods/tasmota
mkdir ~/Downloads/tasmota

# go to https://tasmota.github.io/ and click on the Current Release,
# and scroll to Provided Binary Downloads, and click on the link under
# "Latest released binaries can be downloaded from".
#
# Example:
# https://github.com/arendst/Tasmota-firmware/tree/firmware/release-firmware
# click on Tasmota
# scroll down and download tasmota.bin and store it at location ~/Downloads/tasmota/tasmota.bin


# install lsusb
sudo apt install usbutils

# list usb devices
lsusb

# here's the one you need:
# Bus 008 Device 002: ID 10c4:ea60 Silicon Labs CP210x UART Bridge

# next echo "vendorID productID" | sudo tee /sys/bus/usb-serial/drivers/cp210x/new_id using the info from lsubs
# with a space inbetween instead of a colon
echo "10c4 ea60" | sudo tee /sys/bus/usb-serial/drivers/cp210x/new_id

# verify
sudo cat /sys/bus/usb-serial/drivers/cp210x/new_id

# check that you can see ttyUSB*
sudo dmesg | grep ttyUSB
#[  210.193244] usb 5-4: cp210x converter now attached to ttyUSB0
#[  718.542184] cp210x ttyUSB0: cp210x converter now disconnected from ttyUSB0
#[  722.333939] usb 8-1: cp210x converter now attached to ttyUSB0
#
# it says "attached", so that is good.

# set permissions to access the port
sudo usermod -aG dialout $USER

# install software
pip install esptool --upgrade
Next, we will power ON the USB Serial device by pressing the ON button on the USB hub:
# Hold the button on the smart plug pressed, and only then connect the power pin or turn ON the USB hub.

# USB VCC 3.3V -> Sonoff VCC 3.3V

# There will be no flashing on the Sonoff S31
# (in pairing mode there is a short-short-long flash)
# but in this firmware setup mode there is no flashing at all, no LED is on.

# get info to see if you can connect
esptool.py -p /dev/ttyUSB0 -b 9600 flash_id

# example output:
esptool.py -p /dev/ttyUSB0 -b 9600 flash_id
esptool.py v4.8.1
Serial port /dev/ttyUSB0
Connecting...
Detecting chip type... Unsupported detection protocol, switching and trying again...
Connecting...
Detecting chip type... ESP8266
Chip is ESP8266EX
Features: WiFi
Crystal is 26MHz
MAC: 08:f9:e0:74:7e:3d
Stub is already running. No upload is necessary.
Manufacturer: c8
Device: 4016
Detected flash size: 4MB
Hard resetting via RTS pin...


# if this didn't work, either the wiring isn't correct, or you didn't HOLD the Tasmota button for 5 seconds while powering up the USB hub


# or use --trace to get more info
esptool.py --trace -p /dev/ttyUSB0 -b 9600 flash_id


# if it says this, you need better USB cables or better connections
#
# ...
# TRACE +0.000 Received full packet: 0111020000000000c100
# TRACE +0.100 Serial data stream stopped: Possible serial noise or corruption.
# ...


# only if it shows info about the device, continue.

# If this works, then you need to power OFF the USB hub, and power it ON again, while holding the Tasmota button for 5 seconds.


# download tasmota.bin (tasmota-lite.bin did not work for me on this device) into ~/Downloads/tasmota/

# For me, 9600 baud doesn't work, tried a thousand times, had to use 115200 baud instead.
esptool.py --port /dev/ttyUSB0 --baud 115200 write_flash -fs 1MB -fm dout 0x0 ~/Downloads/tasmota/tasmota.bin
# example error:
esptool.py --port /dev/ttyUSB0 --baud 9600 write_flash -fs 1MB -fm dout 0x0 ~/Downloads/tasmota/tasmota.bin
esptool.py v4.8.1
Serial port /dev/ttyUSB0
Connecting...
Detecting chip type... Unsupported detection protocol, switching and trying again...
Connecting...
Detecting chip type... ESP8266
Chip is ESP8266EX
Features: WiFi
Crystal is 26MHz
MAC: 08:f9:e0:74:7e:3d
Uploading stub...
Running stub...
Stub running...
Configuring flash size...
Flash will be erased from 0x00000000 to 0x00038fff...
Warning: Image file at 0x0 doesn't look like an image file, so not changing any flash settings.
Compressed 231516 bytes to 43389...
Writing at 0x00000000... (33 %)
Lost connection, retrying...
Waiting for the chip to reconnect
Connecting......................................

A fatal error occurred: Failed to connect to ESP8266: Serial data stream stopped: Possible serial noise or corruption.
# If this didn't work,  you need to power OFF the USB hub, and power it back ON while holding the Tasmota button for 5 seconds.


# Example success using 115200

esptool.py --port /dev/ttyUSB0 --baud 115200 write_flash -fs 1MB -fm dout 0x0 ~/Downloads/tasmota/tasmota.bin
esptool.py v4.8.1
Serial port /dev/ttyUSB0
Connecting....
Detecting chip type... Unsupported detection protocol, switching and trying again...
Connecting...
Detecting chip type... ESP8266
Chip is ESP8266EX
Features: WiFi
Crystal is 26MHz
MAC: 08:f9:e0:74:7e:3d
Uploading stub...
Running stub...
Stub running...
Configuring flash size...
Flash will be erased from 0x00000000 to 0x00038fff...
Warning: Image file at 0x0 doesn't look like an image file, so not changing any flash settings.
Compressed 231516 bytes to 43389...
Wrote 231516 bytes (43389 compressed) at 0x00000000 in 4.1 seconds (effective 446.4 kbit/s)...
Hash of data verified.

Leaving...
Hard resetting via RTS pin...
# for me, the tasmota-lite.bin flashed on the Sonoff S31 didn't do anything. I used the tasmota.bin instead:
esptool.py --port /dev/ttyUSB0 --baud 115200 write_flash -fs 1MB -fm dout 0x0 ~/Downloads/tasmota/tasmota.bin
esptool.py v4.8.1
Serial port /dev/ttyUSB0
Connecting....
Detecting chip type... Unsupported detection protocol, switching and trying again...
Connecting...
Detecting chip type... ESP8266
Chip is ESP8266EX
Features: WiFi
Crystal is 26MHz
MAC: 08:f9:e0:74:7e:3d
Uploading stub...
Running stub...
Stub running...
Configuring flash size...
Flash will be erased from 0x00000000 to 0x000a3fff...
Compressed 667952 bytes to 477117...
Wrote 667952 bytes (477117 compressed) at 0x00000000 in 42.1 seconds (effective 127.0 kbit/s)...
Hash of data verified.
Leaving...
Hard resetting via RTS pin...# do not disassemble the programming pins from the device
# turn off your serial USB adapter
# turn on your serial USB adapter
# you should see the blue LED blinking on and off repeatedly. If you don't see the flashig LED
# in this normal operation mode, then the tasmota image you flashed might not be working. This happened to me with tasmota-lite.bin, no flashing, only worked with tasmota.bin instead.
# ok, turn OFF your USB adapter and unhook all the pins.
# remove programming pins from Sonoff S31 smart plug
# reassemble plug, and the crappy screws that keep on slipping
# plug smart plug into a 110VAC outlet
# Since you have the Tasmota image flashed onto your Sonoff S31 smart plug, you don't
# need to install Ewelink on your phone and connect to the device. Now you can simply
# see the new WiFi access point that starts with the word tasmota-######-####.

# Use your phone to connect to the access point. Connect only this time.
# Open a browser on your phone and connect to http://192.168.4.1 Continue to site.
# Set up the WiFi info. Save info.

# Wait for it to say successful connection to your home wifi.

# Only proceed further if it's connected successfully.

# The Sonoff S31 will reboot, kicking you off its wifi.

# You should automatically connect back to your local Wifi network. If it's not automatic, connect to your
# network manually.

# In the phone browser, you should see the IP that Tasmota got from the home Wifi, and it will
# take you to the device automatically.


# Other useful setup steps:

# Configuration -> Other -> set Device Name -> set a friendly name, ex: sonoff1

Emulation: Hue Bridge (makes these get easily detected in Home Assistant)

Go to console

	# restore the last known ON/OFF state before power loss
	PowerOnState 3
	# enable power monitoring
	Module 41
	# check power usage
	Status 8

# set the timezone, otherwise Home Assistant thinks your day ends at GMT+0
Timezone -5
TimeDST 0,2,3,1,2,-240
TimeSTD 0,1,11,1,2,-300
Restart 1

	# restart it
	Restart 1

For Solar Assistant:

Configuration -> MQTT
	Set MQTT:
	host: 192.168.ip-of-your-solar-assistant
	port: 1883
	client: sonoff1
	user: logingoeshere
	pass: secretpasswordgoeshere
	topic: sonoff1


# Good luck.