This shows you how to create a nexus3 repository, create an HTTP connector (on port 8123), and docker login against that connector, and docker push images to the repo.
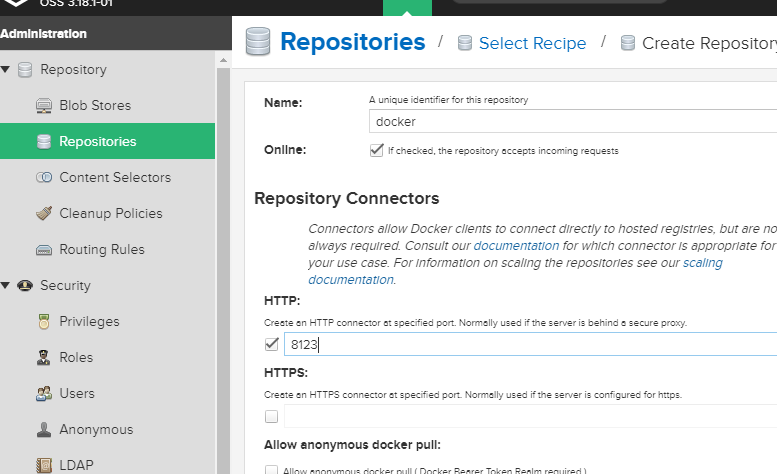
Create the repo using http and additionally allow port 8123:
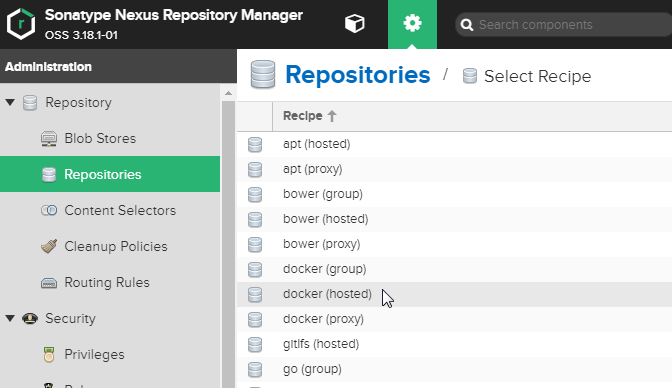
Select docker(hosted)
docker run -d -p 8081:8081 -p 8123:8123 --restart unless-stopped --log-opt max-size=3m --log-opt max-file=3 --name nexus -v /mnt/nas/dockernexusrepo:/nexus-data sonatype/nexus3Since this is running on 8081, we can use http://host.domain:8081 to log in from, locally. 8123 is used for https and will be mapped in the nginx config so that it’s accessible from outside the network. But 8081 is only for inside the network.

Next add the proxy_pass to your IP:8123 in /etc/nginx/sites-available/docker.nexus.research.example.com
server {
#       listen 80;
#       listen   [::]:80 ipv6only=on;

    listen 443 ssl;
    listen [::]:443;
    ssl_certificate /etc/letsencrypt/live/docker.nexus.research.example.com/fullchain.pem;
    ssl_certificate_key /etc/letsencrypt/live/docker.nexus.research.example.com/privkey.pem;
    include /etc/nginx/snippets/ssl.conf;
    client_max_body_size 999M;

#    root /opt/web/docker.nexus.research.example.com;
#    index index.html index.htm;

    server_name docker.nexus.research.example.com;

    location / {
        proxy_pass                         http://10.1.10.110:8123/;
        proxy_set_header Host              $http_host;
        proxy_set_header X-Forwarded-For   $proxy_add_x_forwarded_for;
        # proxy_set_header X-Forwarded-Proto $scheme;
        proxy_set_header X-Forwarded-Proto "https";
        proxy_set_header X-Real-IP         $remote_addr;
        proxy_set_header X-Forwarded-Host $host:$server_port;
        proxy_set_header X-Forwarded-Server $host;
    }
}

# force 80 to go to 443 SSL
server {
    listen 80;
    server_name docker.nexus.research.example.com;
    return 301 https://$host$request_uri;
}
Set up SSL and all that, make sure that part works. But you won’t be able to browse your domain above (docker.nexus.research.example.com).
Next, authenticate:
docker login docker.nexus.research.example.comUsername: myuseridhere
Password:
WARNING! Your password will be stored unencrypted in /home/myid/.docker/config.json.
Configure a credential helper to remove this warning. See
https://docs.docker.com/engine/reference/commandline/login/#credentials-store
Login SucceededNext, test that you can pull another image from somewhere, re-tag it, and push it to your own repo:
The alpine image is small, get it:
docker pull alpine:latestLook at your images
docker imagesThere it is, alpine latest. Copy its image ID.
TAG=`docker images | grep -E 'alpine.*latest' | awk -e '{print $3}'`
echo $TAG
Re-tag it as your own alpine image:
docker tag $TAG docker.nexus.research.example.com/alpine:latestPush it to your repo:
docker push docker.nexus.research.example.com/alpine:latestGo look that it’s there, use the other URL that lets you browse your repo:
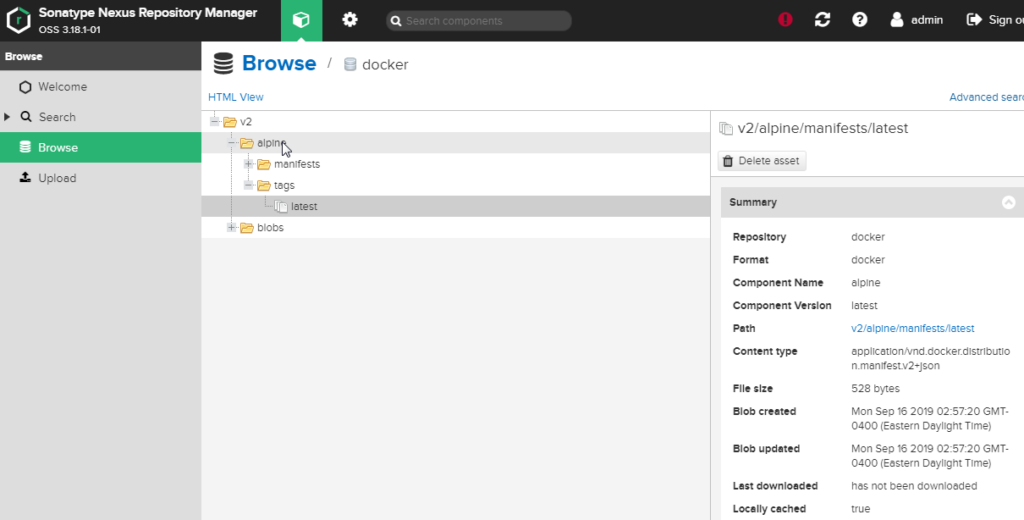
There’s the image. Nice.